This post contains affiliate
links. For more information, please see my Terms of Use and Disclosure Policy
page. Thank you.
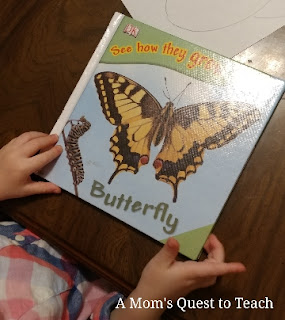
In conjunction with our art studies lesson from SchoolhouseTeachers.com, we studied caterpillars and butterflies. To help reinforce the idea of metamorphosis, we made our own butterfly life cycle picture.
Materials
- glue sticks
- white glue
- crayons
- pencil
- tissue paper
- construction paper
- small pom-poms
- small googly eyes
- scrapbook paper
Steps
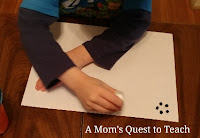
This time, I tried something new with my children. I modeled what they would be doing on their own paper by drawing it out on a small whiteboard.
1. Gather all your materials. I pre-cut all my shapes for my children but depending on the age and skill of your children, you can have them help you or do it for themselves.
2. Glue on your small pom-poms as eggs.
Butterflies usually lay their eggs on the bottom of leaves or on/near food for the hatching caterpillars.
3. Glue on the caterpillar. Glue on or draw on stripes. We talked about why the caterpillar had stripes for camouflage purposes.
Caterpillars eat and grow. This stage is all about getting bigger so they shed their skins several times as they grow. They usually have stripes to aid in hiding from predators.
4. Glue on the tree or tree branch, leaves, and chrysalis.
When the caterpillar is done growing, it forms a cocoon or chrysalis so it can undergo a transformation to become a butterfly. They might be inside the chrysalis from ten to fourteen days until they hatch.
5. Glue your butterfly onto your paper. You can create a butterfly in a number of ways. We had one made of tissue paper, construction paper, and googly eyes along with hand drawn antennae.
When a butterfly is ready to hatch, it slowly breaks out of its chrysalis. After about an hour or two, the butterfly's wings are dry and it can fly. The life cycle will begin again as the butterfly finds a mate and then lays eggs.
6. Draw arrows to connect the different steps.
7. After the picture is dry, display proudly in your home.
Resources
To find out more information, you can visit the following sites. Remember to review any site before allowing your children to visit it without you.
National Geographic Kids' The Butterfly Life Cycle Page
The Academy of Natural Sciences' Butterfly Life Cycle Page
The Children's Butterfly Site's Life Cycle of Butterflies and Moths
I linked up with the following blog(s):


well done craft, pinning to my insects board.
ReplyDeleteThank you!
DeleteGreat ideas, I’m saving this for our butterfly unit!
ReplyDeleteThank you! If you post pictures on Instagram, please tag #momquesttoteach so I can share your completed project with my kids. I would love to see them.
DeleteI love this idea! How fun to go along with a unit on butterflies. Thanks for sharing with us at the Virtual Refrigerator. Pinned.
ReplyDeleteThank you...wanted to do something fun without having to raise butterflies ourselves.
Delete