This post contains affiliate links. For more information please see my Terms of Use and Disclosure Policy page. Thank you.
Materials
- construction paper (green and red)
- glue sticks
- tape
- wrapping paper (optional)
- butcher paper (I use the paper that companies use to wrap products in that they mail.)
- scissors
Steps
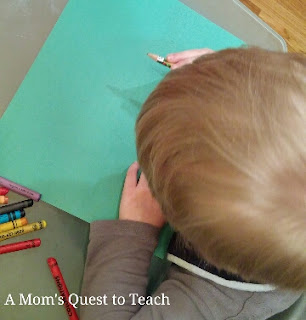
2. Trace Hands. If you use a different shade of green for each person in your family, you can label the back so you will be able to identify hands in future years.
3. Cut out hand prints.
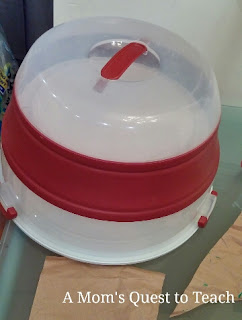
4. Trace circle for wreath. I used my cake saver for my stencil.
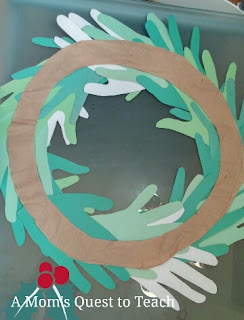
5. Cut out circle and center of circle to create a base for the wreath.
6. Lay out hand prints in two rows. Adult and teen size on the outside with kid/toddler/baby scattered on top of that row.
7. Tape hand prints down one by one to form a circle.
8. Once all layered hand prints are attached, tape down the smaller hand prints.
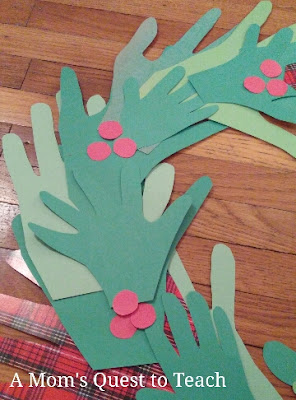
9. Cut out and glue down berries. (I used my glue stick as a 'stencil.')
10. Turn over and tape and glue down hand prints so they are all connected on your circle base.
11. Hang your completed wreath.
12. Optional Ideas:
- add year
- add ribbon
- add bells
- laminate wreath
You will need approximately 15 adult/teen size hand prints and 12 kid/toddler/baby size hand prints.
I used the same set of prints to trace and make all of my hand prints. I would have liked a bit of variety of the hand prints but we are so busy that I didn't have time to get everyone to sit around the table and trace their hands multiple times.
I scattered in the wrapping paper prints because I thought it would add a unique touch as I didn't plan on adding ribbon.
With all materials and participants at the ready, this entire project will only take a few hours from start to completion.
I originally saw an image of My Name is Snickerdoodle's wreath last year but I knew that I wanted to put a family twist on this idea.


No comments:
Post a Comment